Getting Started
Welcome to ReadyChatAI! This guide will walk you through the essential first steps to set up your account and configure your AI-powered chatbot for customer engagement.
Creating Your Account
Getting started with ReadyChatAI is straightforward:
- Navigate to the ReadyChatAI website
- Click "Get Started" or the signup button
- Enter your information:
- Email address
- Secure password
- Complete registration by following the on-screen instructions
- Verify your email address if prompted
Security Tip: Choose a strong, unique password for your ReadyChatAI account to protect your business information and connected social media channels.
The Onboarding Process
After creating your account, you'll be guided through a 4-step onboarding process that configures your AI bot. Each step builds on the previous one to create a fully functional, personalized chatbot for your business.
Step 1: Personal Profile
Set up your personal account information.
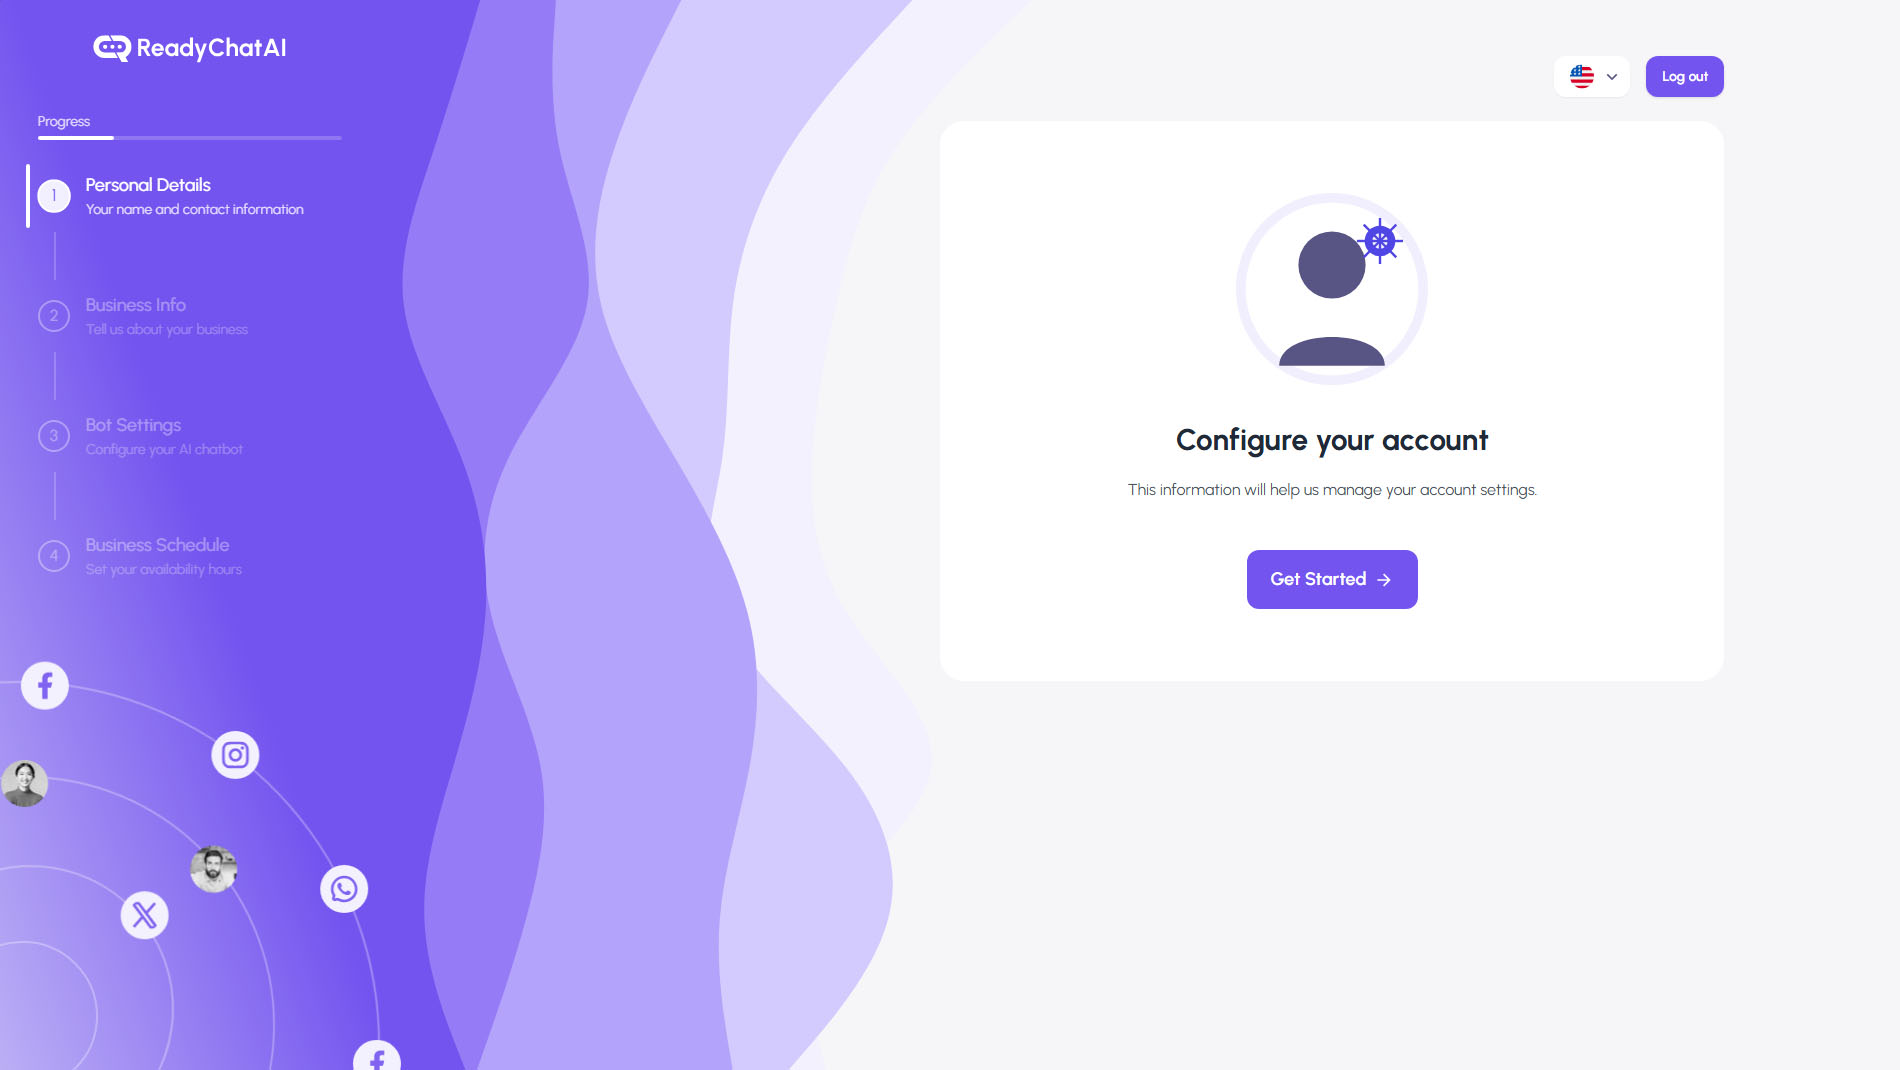 Onboarding Step 1.
What You'll Configure:
- Profile Picture - Upload your photo (helps team members identify you)
- First Name - Your given name
- Last Name - Your surname
- Timezone - Your local timezone for accurate scheduling
This information is used for your user profile within the platform and helps with team collaboration features.
Step 2: Business Information
Provide your core business details that will power your AI bot's knowledge.
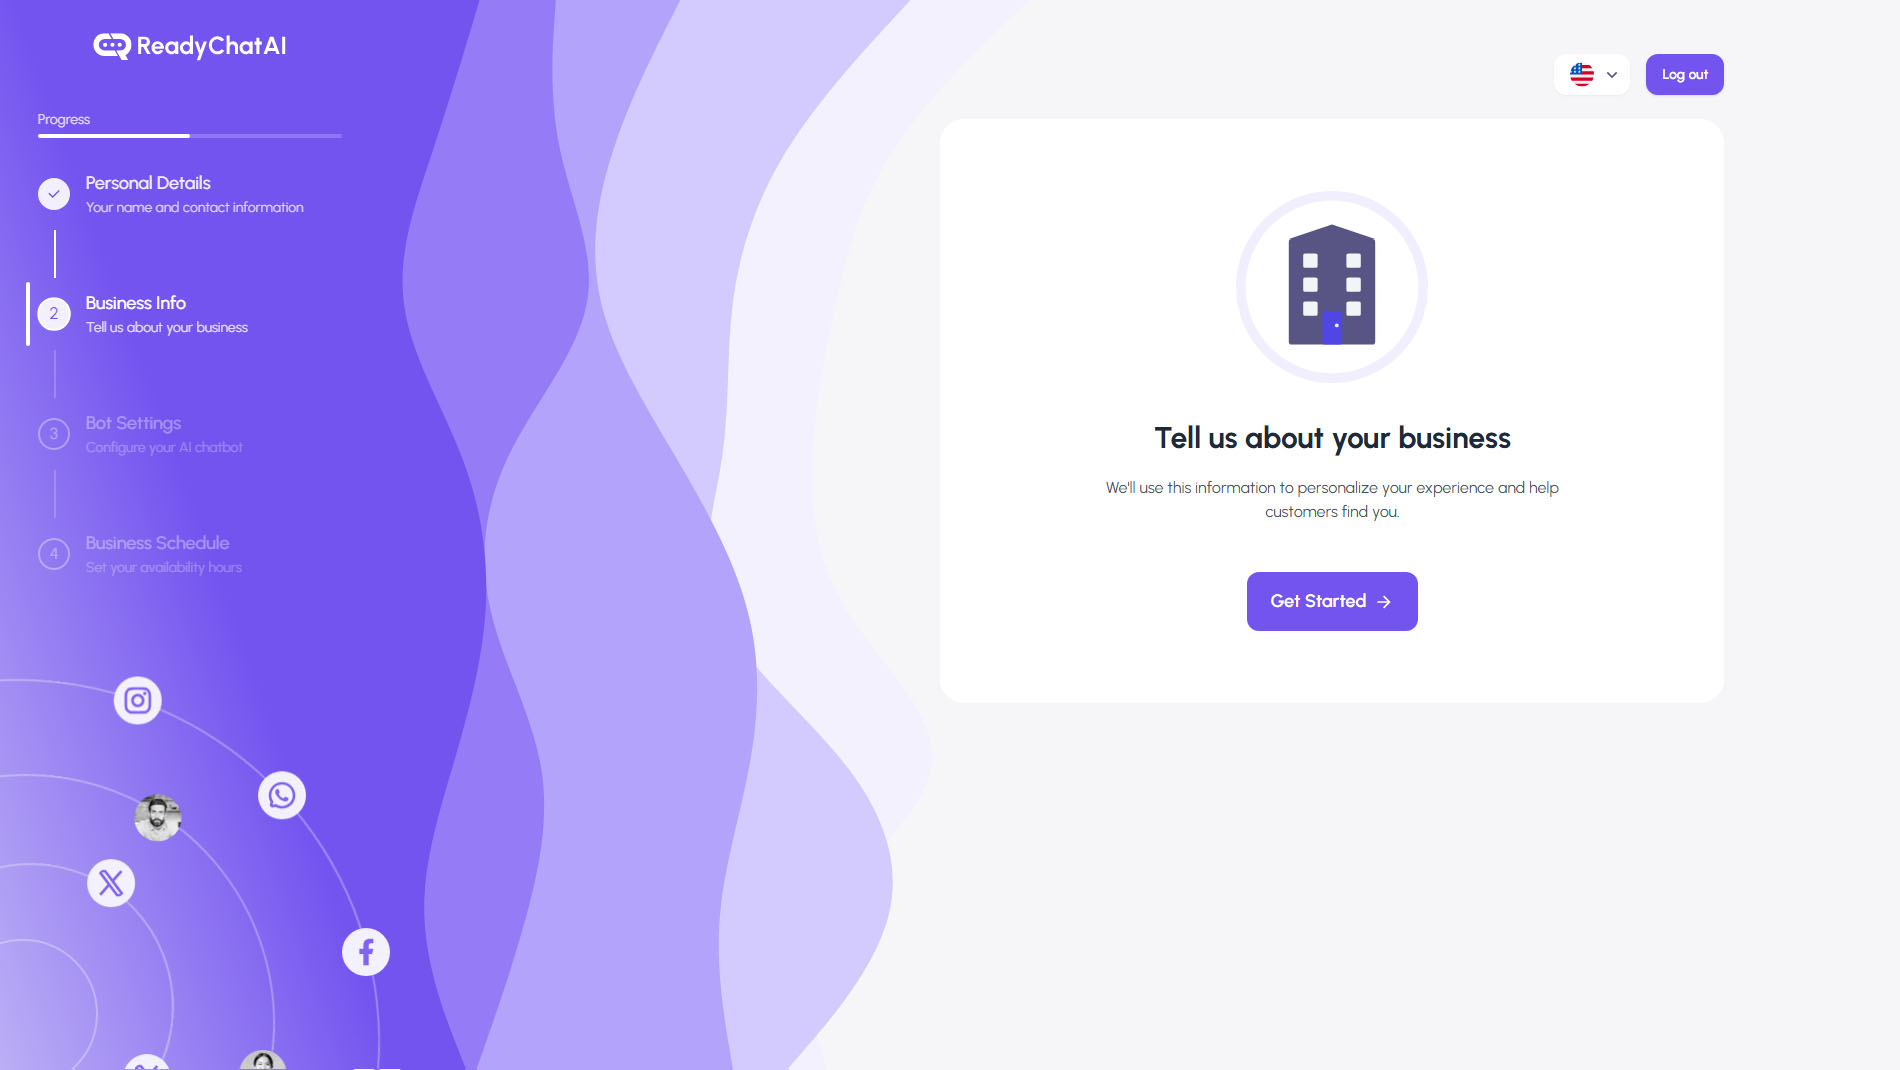 Onboarding Step 2.
Required Information:
| Field | Description |
|---|---|
| Business Name | Your official company or brand name |
| Business Email | Primary contact email for your business |
| Address | Street address, city, state, ZIP code, and country |
| Contact Number | Business phone number with country code |
| Timezone | Business timezone for scheduling |
| Currency | Default currency for transactions (e.g., USD) |
Optional Information:
- Website - Your business website URL
- About Your Business - A free-text description of your business, services, and unique selling points
Pro Tip: The "About Your Business" field is crucial for your AI. Be as detailed as possible—include your services, target audience, key differentiators, and anything you'd want your bot to know when answering customer questions.
AI-Powered Business Extraction:
If enabled for your account, you can use the "Extract from Website" button to automatically populate your business information from your existing website.
Step 3: Bot Personality & Settings
Configure how your AI bot behaves and responds to customers.
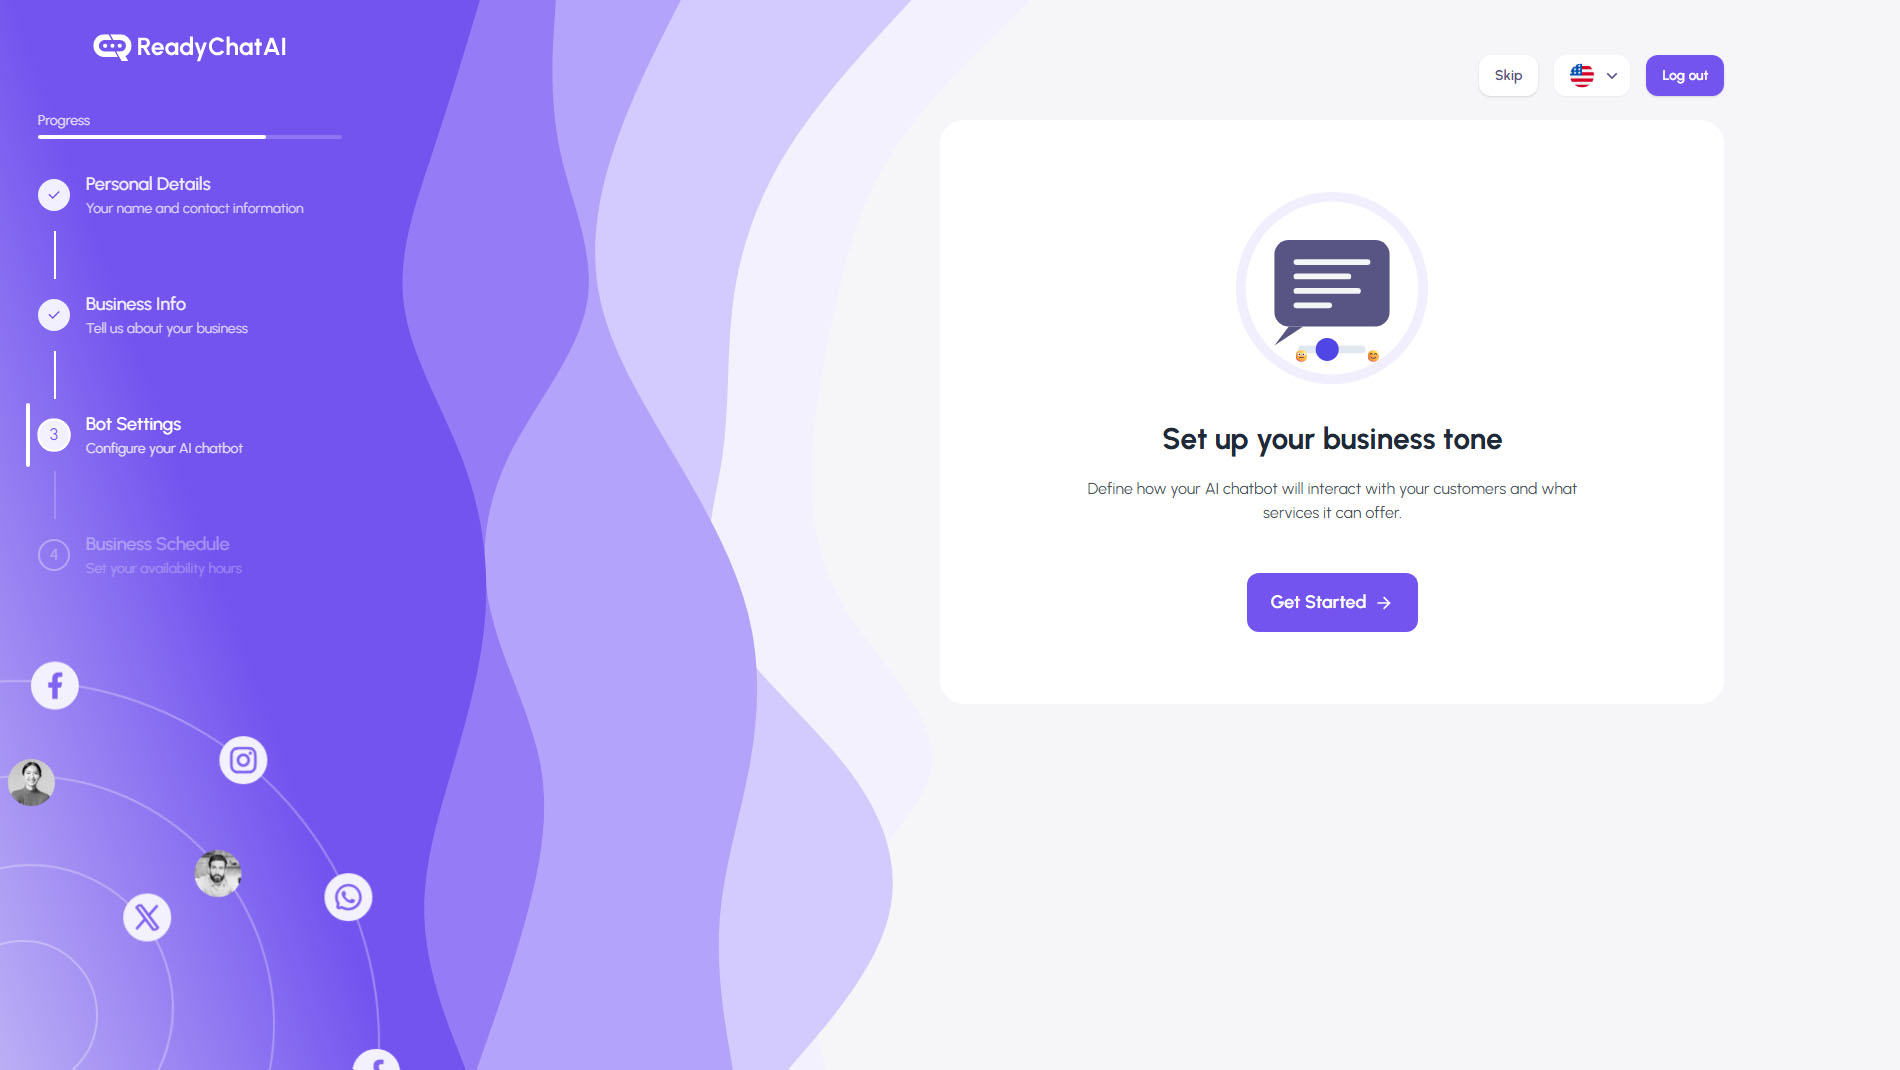 Onboarding Step 3.
Bot Configuration Options:
This step presents survey-style questions that define your bot's behavior. Common settings include:
- Response Tone - Choose how your bot communicates (Professional, Friendly, Casual, etc.)
- Intro Message - The greeting message when customers first interact
- Fallback Behavior - What happens when the bot can't answer a question
- Order/Appointment Settings - Whether your bot can take orders or schedule appointments
AI Model Selection:
Choose the AI model that powers your bot:
| Model | Description |
|---|---|
| GPT-4o | Most capable model with advanced reasoning and accuracy |
| GPT-4o mini | Faster responses, suitable for simpler interactions |
Note: Available options may vary based on your subscription plan.
Step 4: Business Hours
Set your availability schedule so your bot and team can manage customer expectations.
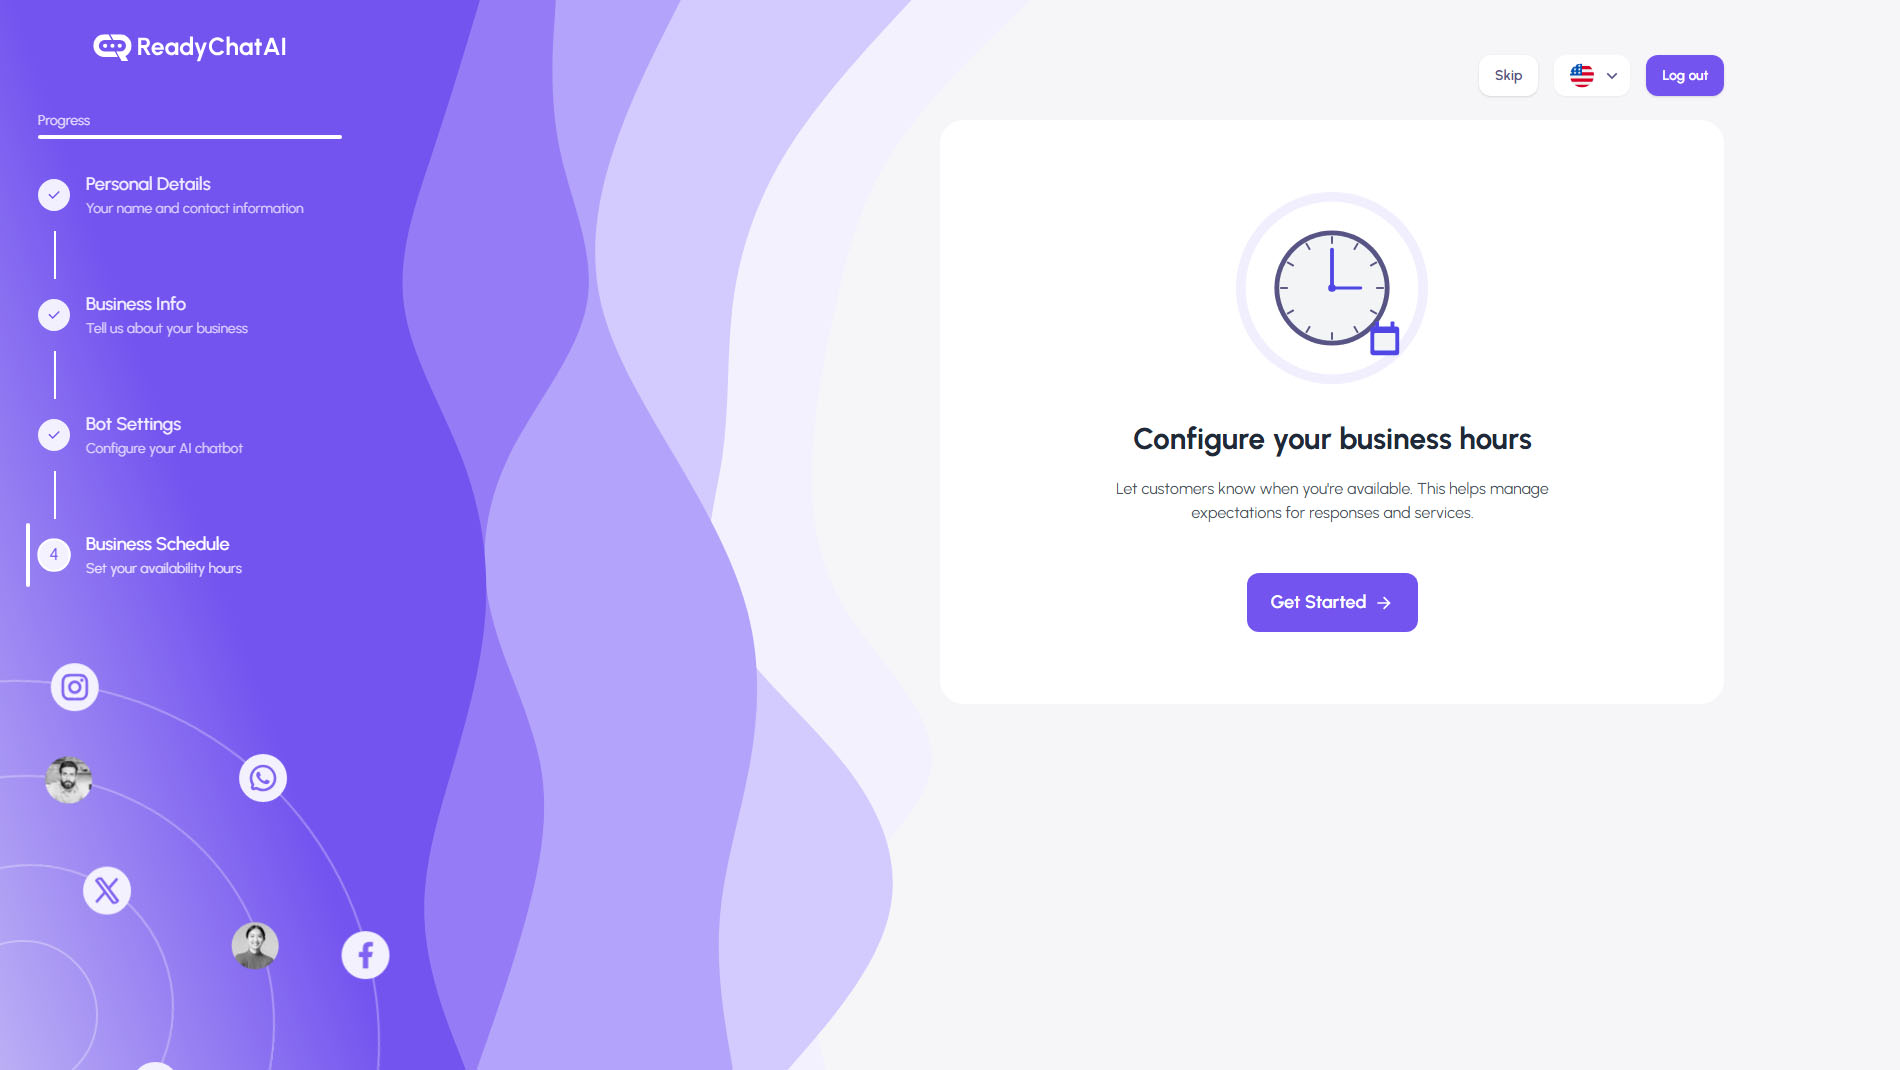 Onboarding Step 4.
Configure Your Schedule:
- Weekly Hours - Set your operating hours for each day of the week
- Day-by-Day Control - Enable or disable specific days
- Start/End Times - Define when your business opens and closes each day
The schedule component provides both:
- Calendar View - Visual weekly overview
- List View - Detailed day-by-day breakdown
Your availability schedule helps the bot:
- Inform customers of your business hours
- Manage expectations for response times
- Route escalations appropriately
Completing Onboarding
After finishing all 4 steps:
- Click "Finish" on the final step
- Your settings are saved automatically
- You'll be redirected to your ReadyChatAI Dashboard
A confirmation modal will appear showing that your onboarding is complete.
What Happens Next?
Once you complete onboarding, you'll have access to your full ReadyChatAI dashboard where you can:
- Connect Channels - Link Facebook, Instagram, WhatsApp, and other platforms
- Monitor Conversations - View and manage customer interactions
- Add Products - Build your product catalog for the AI to reference
- Improve Your Bot - Review and answer questions in the Knowledge Base
- View Analytics - Track performance metrics on the Dashboard
Quick Checklist
Before starting onboarding, have ready:
- Profile photo (optional but recommended)
- Business name and contact details
- Business address information
- Description of your business and services
- Your typical business hours
- An idea of how you want your bot to communicate
Updating Your Information Later
Nothing is permanent! You can always update your configuration:
- Personal - Update your profile in the Personal section under Settings
- Business Info - Modify details in the Business Info section under Settings
- Bot Configuration - Adjust in Configure under AI Configuration
- Schedules - Update availability in User Management under Settings
Need Help?
If you have questions during onboarding:
- Use the Skip button to move past optional steps
- You can always go back to previous steps before completing
- Visit our documentation for detailed feature guides
- Contact support if you encounter any issues
Ready to get started? Create your account and begin building your intelligent customer engagement solution!